No edit summary |
m (re-categorisation per CFD, replaced: <font color=" → {{color| (6), '''</font> → }}''' (5), </font> → }}, ">''' → | (5), "> → |, * {{color| → * '''{{color| (5)) |
||
| Line 3: | Line 3: | ||
|Game=[[File:KingsIcon.png]] ''[[Age of Empires II: The Age of Kings|The Age of Kings]]'' |
|Game=[[File:KingsIcon.png]] ''[[Age of Empires II: The Age of Kings|The Age of Kings]]'' |
||
|Campaign=[[Joan of Arc]] |
|Campaign=[[Joan of Arc]] |
||
| − | |Color=''' |
+ | |Color='''{{color|blue|Blue}}''' |
|Civilization=[[Franks]] |
|Civilization=[[Franks]] |
||
|No=4 |
|No=4 |
||
| Line 40: | Line 40: | ||
== Players == |
== Players == |
||
=== Player === |
=== Player === |
||
| − | * |
+ | * '''{{color|blue|Player}}''' ([[Franks]]): The player starts with Joan of Arc and her starting army in the southeast of the map. |
=== Enemies === |
=== Enemies === |
||
| − | * |
+ | * '''{{color|red|British Guards}}''' ([[Britons]]): The British Guards only have one camp on the road just west of the player's starting position consisting of [[Man-at-Arms|Men-at-Arms]] and [[Crossbowman (Age of Empires II)|Crossbowmen]]. They are easily defeated. |
| − | * |
+ | * '''{{color|green|Chalon}}''' ([[Franks]]): Chalon is an unfortified town located on the western part of the map. They field Knights and [[Scorpion]]s. If given enough time, they will build [[Cannon Galleon]]s. |
| − | * |
+ | * '''{{color|yellow|Rheims}}''' ([[Britons]]): Rheims is a fortified town in the northernmost part of the map. They are strongest opponent in the scenario. They attack with [[Longbowman (Age of Empires II)|Longbowmen]], [[Light Cavalry (Age of Empires II)|Light Cavalry]], Knights, [[Mangonel]]s, and [[Trebuchet]]s. |
| − | * |
+ | * '''{{color|orange|Troyes}}''' ([[Britons]]): Troyes lies in the east. The crossing of the river is blocked by a wall, but otherwise it is not fortified. They field [[Pikeman (Age of Empires II)|Pikemen]] and Knights. They also build [[War Galley (Age of Empires II)|War Galleys]]. |
== Strategy == |
== Strategy == |
||
Revision as of 19:38, 22 October 2018
The Rising is the fourth scenario in the Joan of Arc campaign in Age of Empires II: The Age of Kings. It is loosely based on the French conquest leading up to the coronation of Charles VII.
Scenario instructions
Starting conditions
- Starting Age: File:Castle-age-reseach.jpg Castle Age
- Starting resources: 200 wood, 200 food, 50 gold, 150 stone
- Population limit: 75
- Starting units:
 Joan of Arc
- 6
 Knights
 - 4 Crossbowmen
- 4 Men-at-Arms
- 2 Scout Cavalry
- 2 Monks
- Gaia units:
Objectives
- Travel west to help reinforce the French town. Be wary of opposition along the way.
- Joan must survive.
- Destroy the Town Center of Rheims.
- Destroy the Town Center of Chalons.
- Destroy the Town Center of Troyes.
Hints
- Gaining control of the river may be a good strategy, but do not squander your resources needlessly on ships.
- Chalon is the closest and most vulnerable of the three English-occupied villages. Making an example of them early could help even the odds for you in the long run.
- Remember your objectives. It is not necessary to level the cities, only to force the English to withdraw.
- Wall off all shallows to slow enemy invaders.
Players
Player
- Player (Franks): The player starts with Joan of Arc and her starting army in the southeast of the map.
Enemies
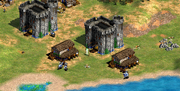
- British Guards (Britons): The British Guards only have one camp on the road just west of the player's starting position consisting of Men-at-Arms and Crossbowmen. They are easily defeated.
- Chalon (Franks): Chalon is an unfortified town located on the western part of the map. They field Knights and Scorpions. If given enough time, they will build Cannon Galleons.
- Rheims (Britons): Rheims is a fortified town in the northernmost part of the map. They are strongest opponent in the scenario. They attack with Longbowmen, Light Cavalry, Knights, Mangonels, and Trebuchets.
- Troyes (Britons): Troyes lies in the east. The crossing of the river is blocked by a wall, but otherwise it is not fortified. They field Pikemen and Knights. They also build War Galleys.
Strategy
This guide is applied to hard difficulty. It is, of course, also applicable for the other grades of difficulty. It describes only one way to win it. Naturally, there are alternative ways to be gone.
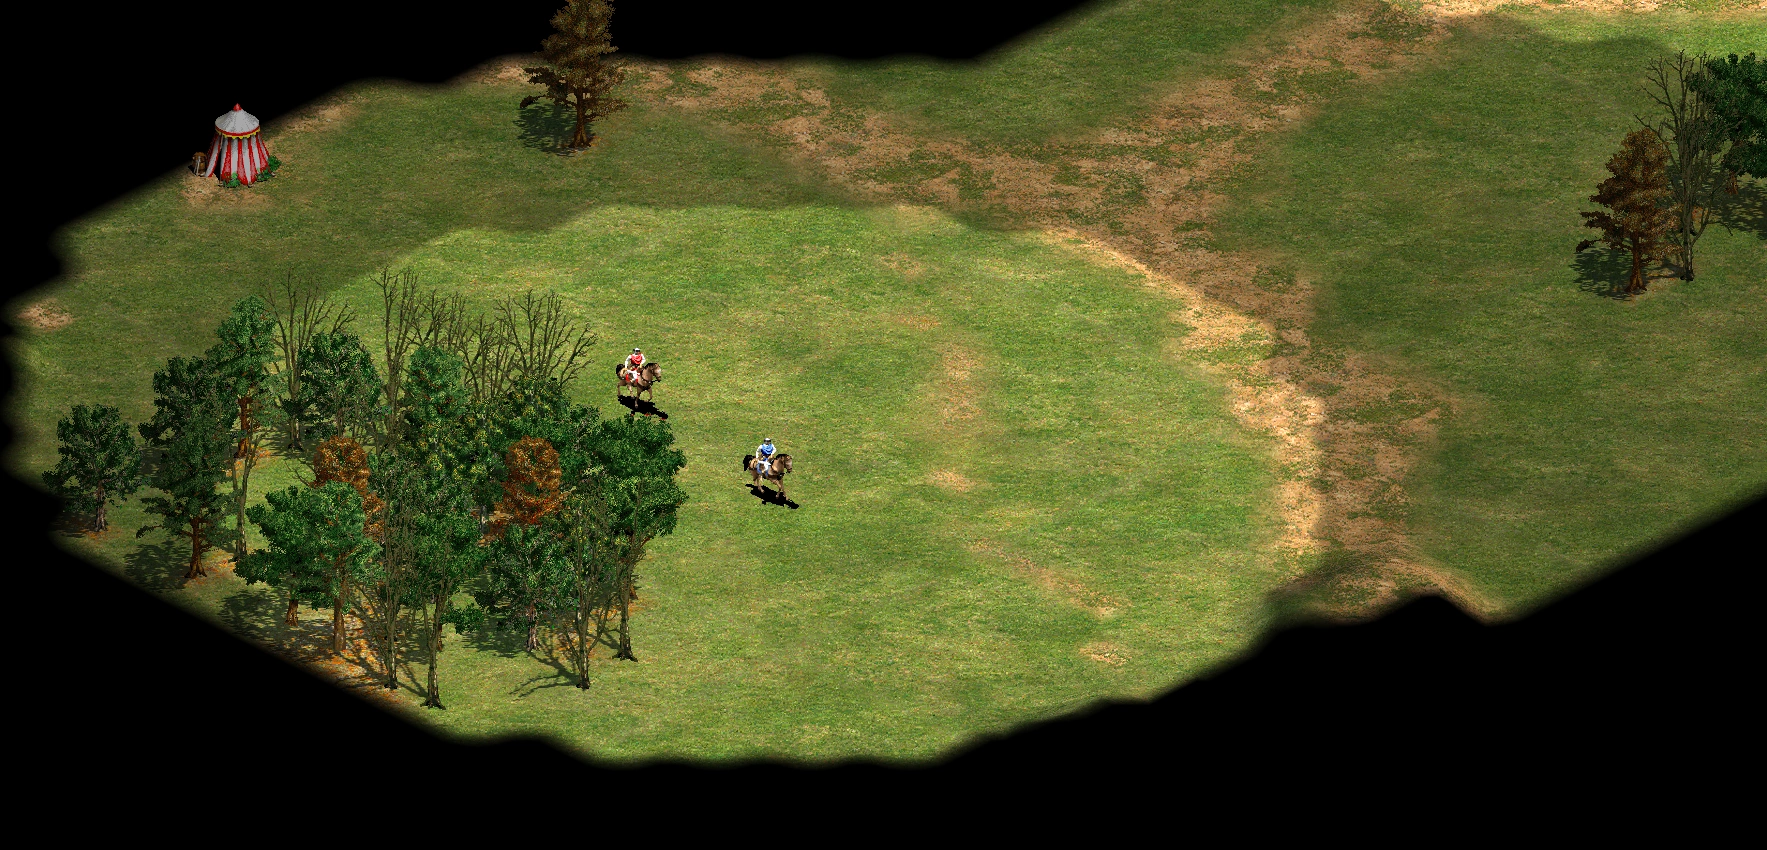
Lure away the Scout Cavalry to ease passage to the west.
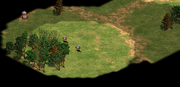
The player starts with a small army in the southeast of the map. The first objective is to reach a small village that lies to the west. To comfortably reach it first lure away the Scout Cavalry that is patrolling in the player's path. Lure it to the south with an own Scout Cavalry. The own Scout Cavalry is best sacrificed there to ensure the own army is not spotted. With this done, now the path is clear. Take the entire army (best set it to 'Passive Stance' for the journey to avoid distractions and attention) and move a few steps north till it reaches a river. Now travel west (keep close to the river to avoid the British Guards), past shallows and an enemy Guard Tower, until a second river crossing is reached. Once there, take the second Scout Cavalry and travel south until it reaches the flagged area. Roam around a little. Soon a small village will be given to the player, along with a few Villagers that immediately start gathering resources. Start creating more Villagers immediately and assign them to collect resources, ideally food.

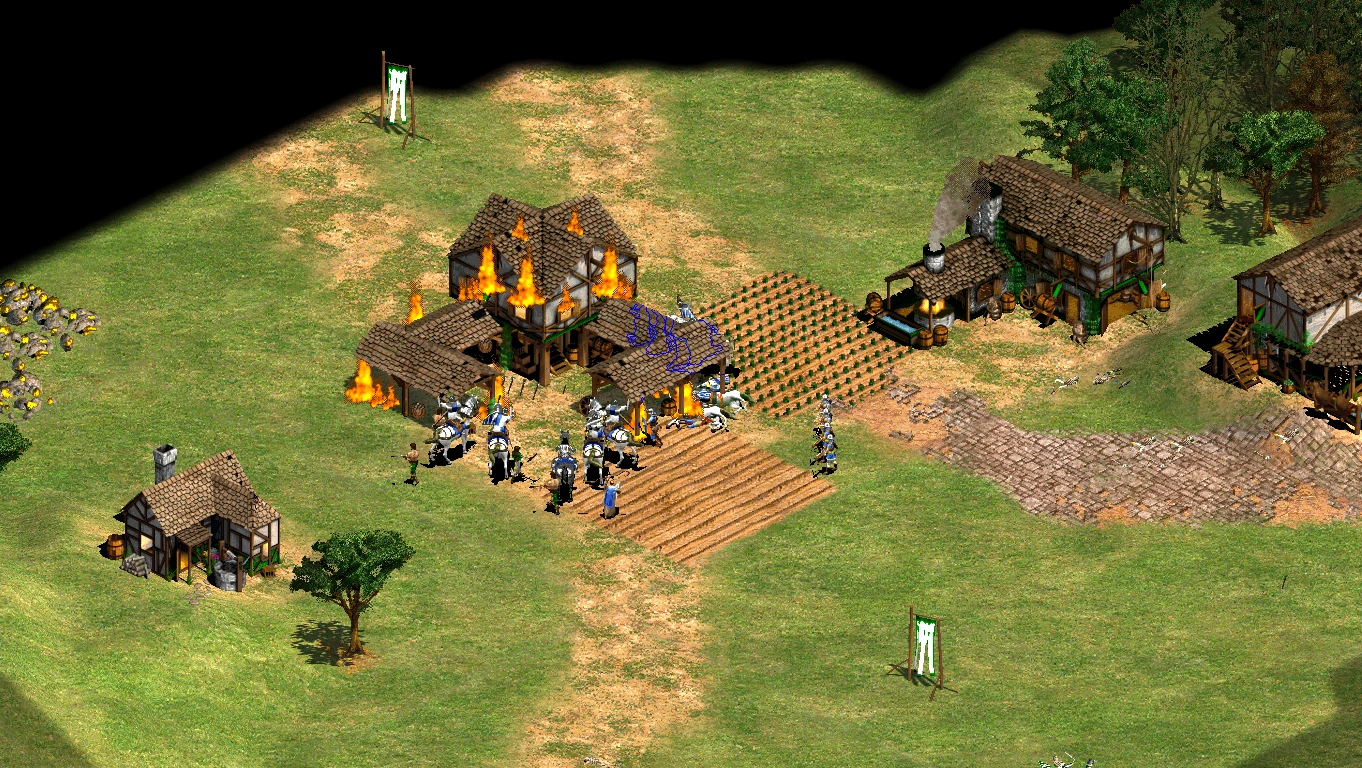
Chalon will fall to an early attack.
Meanwhile, take the rest of the army and cross the river northwards. Once the river is crossed, four Knights from Chalon attack. Try to convert two of them with the brought along Monks and kill the other two. Take out the enemy Scorpions coming from the east with the own Knights and then attack the Town Center while also dealing with the enemy Crossbowmen that retaliate. The own army is large enough to overpower Chalon without too much difficulties. Once the Town Center is razed, Chalon resigns.
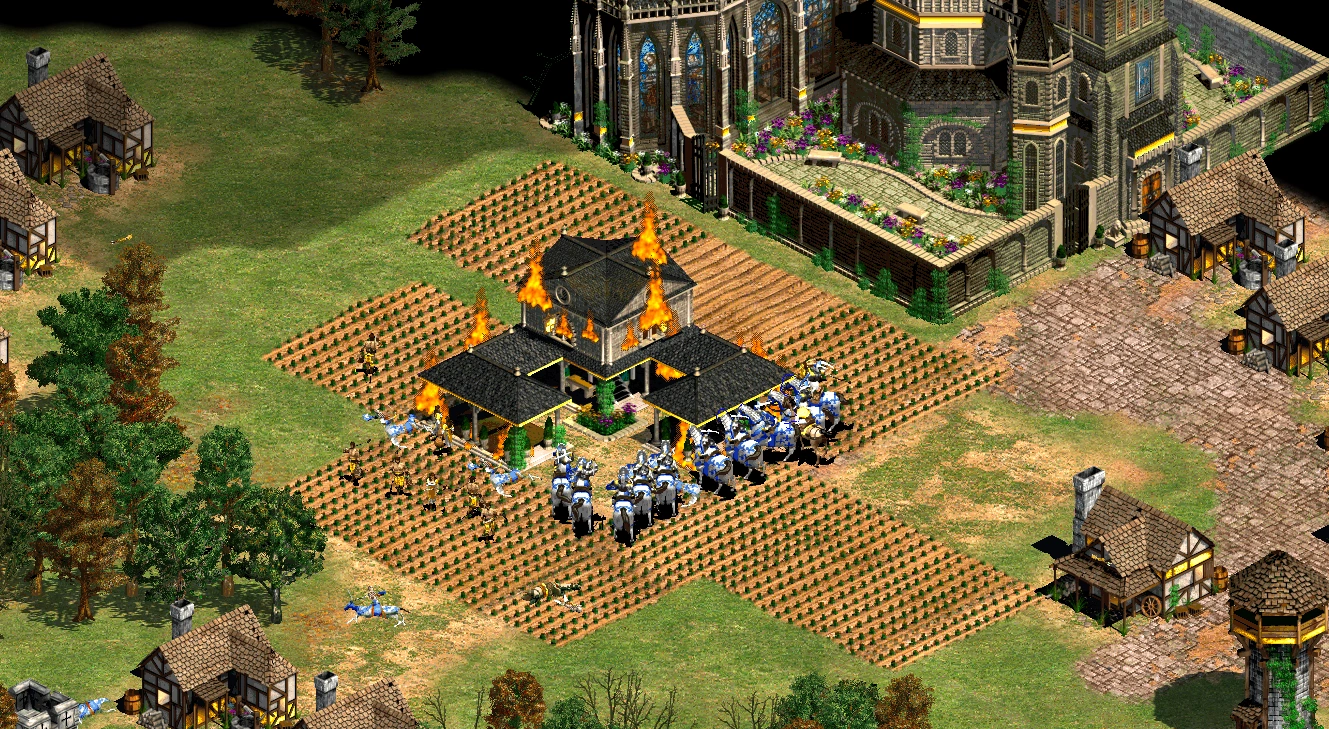
With that done, take the army back to the player's base and heal off the units with the Monks. Store Joan at a save location and leave her there (west of the player's settlement is the quietest area). By now, there should be enough wood to construct a second Town Center. Doing so is optional, but it noticeably boosts the player's economy. Soon, the once avoided British Guards will attack the player's town with Crossbowmen and Men-at-Arms. Ringing the Town Bell and sending out the Knights is enough to fend them off. Also, Troyes may build a military forward base just east of the player's settlement and attack with there trained Pikemen. Raze it with the starting army. Meanwhile, continue to collect all resources (there are Stone and Gold Mines nearby) and create more Villagers (a total Villager count of 50 is recommended). Don't forget to build Houses.
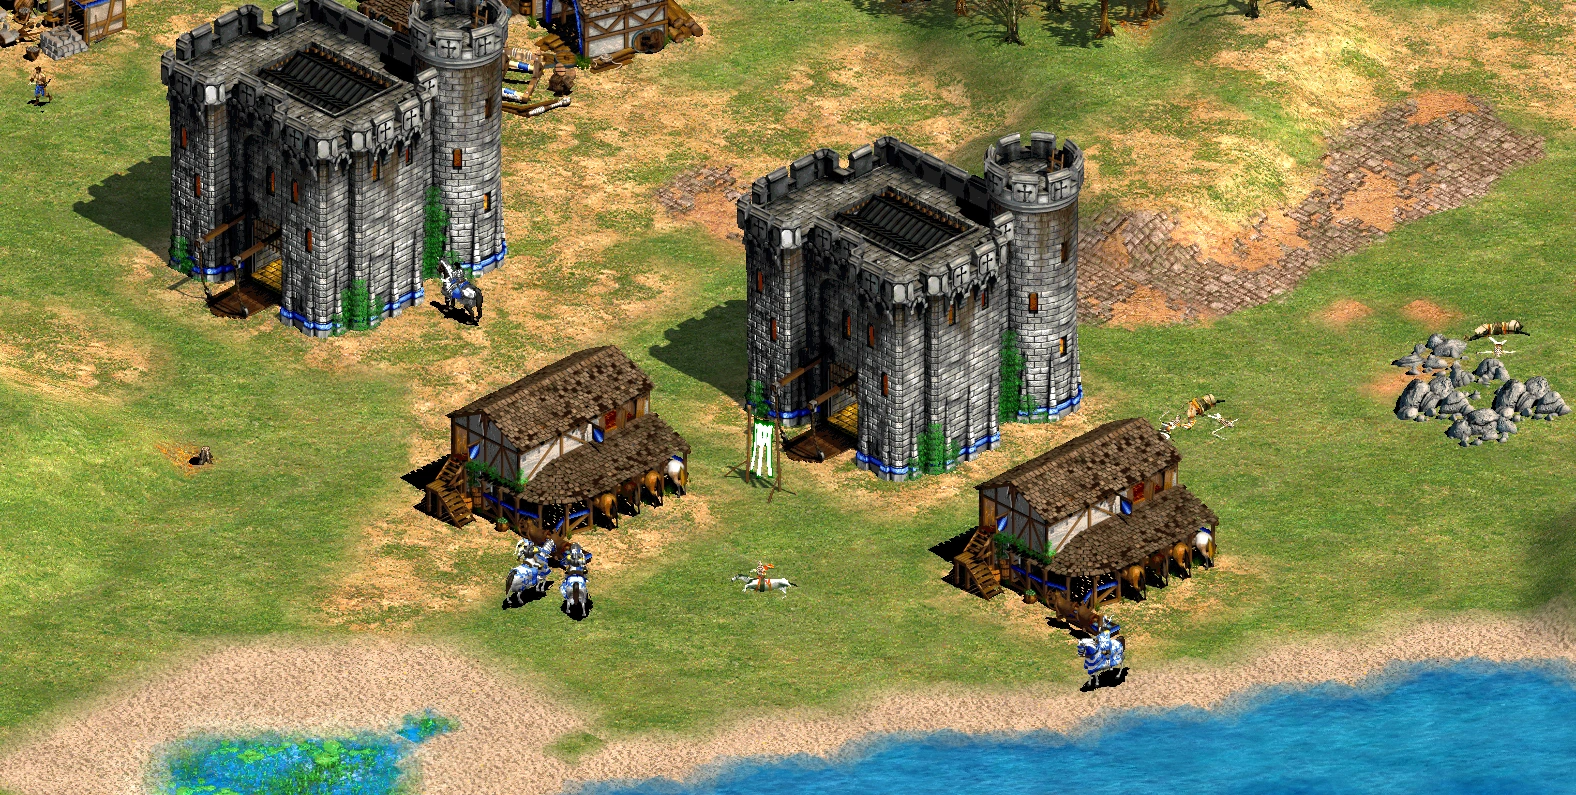
A forward base greatly helps attacking Troyes and Rheims.
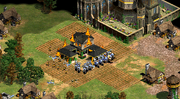
Also, research important technologies, especially the cavalry technologies available at the Blacksmith. If 650 stone are collected, construct a Castle where once Chalon's Town Center stood. Also build at least one Stable there to create Knights. There is also a Gold Mine close by that can freely be mined. Stock up on Knights and advance to the Imperial Age as soon as enough resources are collected. Apart from Troyes' forward base, no serious attacks await the player to this point.


Troyes' Town Center is best razed from the distance far distance to avoid the Castle.
Once the Imperial Age is reached, build a few Trebuchets and upgrade to Cavalier. If enough resources are available, upgrade to Paladin as well. Don't forget the Blacksmith upgrades. Get rid off the weak starting units (Crossbowmen, Men-at-Arms) by killing them or use them for scouting to make room for Cavaliers/Paladins so the total count for these units can go up to 20+. Attack Troyes as soon as possible and directly attack the Town Center with Trebuchets. Defend the siege engines with Paladins while the former quickly level the Town Center. Once it is razed, Troyes resigns.
The Town Center of Rheims can be taken out with Paladins.
Keep training Paladins and the population limit at 75. To launch the final attack, attack the Gate in the north with Trebuchets and then directly attack the Town Center of Rheims with Paladins, ideally with at least 15. The Trebuchets can also take down the Castle of Rheims from outside the city wall in the north. Rheims defends itself mostly with Longbowmen, making it easy for the Paladins to dominate the field. The final attack should be quick and successful as Rheims rebuilds lost Castles and towers. Once their Town Center is razed, however, the scenario is won.
Trivia
- This is the only Joan of Arc level where Burgundy and the British army do not appear, not counting the first where British are only minor at a battle against the Army of France. However, they are still represented by the three enemy cities in this scenario (so they actually appear under a different name).
- It is possible to build a Wonder in this scenario after advancing to the Imperial Age. However, this will not result in victory.
- This is the only scenario in the Joan of Arc campaign in which no hero units appear other than Joan herself.