| This article is about the scenario in Age of Empires II: The Age of Kings. For the scenario in Age of Empires IV, see The Battle of Patay. |
The Cleansing of the Loire is the third scenario in the Joan of Arc campaign in Age of Empires II: The Age of Kings. It is based on the Loire Campaign of June 11–18, 1429.
Intro[]
June 14, Orléans
Our rescue of Orléans was a setback for our enemies, but only a minor one. The English still possess half of France.
Tragically, we have cooled our heels for weeks while the Dauphin's advisors debate.
Joan became irritated with the delay and reassembled her army. She talks of nothing but her mission to drive the English into the sea.
The force of Joan's will is titanic. She has gathered to her banner swearing brigands and knaves and turned them into patriots and heroes.
Among them is the man La Hire. A giant clad in plate mail, he drives men on with curses and fists. There will be plenty of English necks for La Hire to break at Patay.
Patay is the gateway to the Loire River Valley. The English hold the Loire in a grip of steel, whilst a huge army under Sir John Fastolf devastates the countryside.
Joan leads us to Patay to capture the English castles. However, we must avoid Fastolf's army 'til we are strong enough to face his veterans.
June 14, Orléans
Our rescue of Orléans was a setback for our enemies, but only a minor one. The British still possess half of France.
Tragically, we have cooled our heels for weeks while the Dauphin's advisors debate.
Joan became irritated with the delay and reassembled her army. She talks of nothing but her mission to drive the British into the sea.
The force of Joan's will is titanic. She has gathered to her banner swearing brigands and knaves and turned them into patriots and heroes.
Among them is the man La Hire. A giant clad in plate mail, he drives men on with curses and fists. There will be plenty of British necks for La Hire to break at Patay.
Patay is the gateway to the Loire River Valley. The British hold the Loire in a grip of steel, whilst a huge army under Sir John Fastolf devastates the countryside.
Joan leads us to Patay to capture the British castles. However, we must avoid Fastolf's army 'til we are strong enough to face his veterans.Scenario instructions[]
Starting conditions[]
- Starting Age:
 Feudal Age
 - Starting resources: 500 food, 700 wood, 50 gold, 150 stone
- Ending Age: Castle Age
- Population limit: 75 (125 in the Definitive Edition)
- Starting units:
- Joan of Arc
- La Hire
- 12 Crossbowmen
- 4 Knights
- 4 Villagers
- 4 Pikemen
- 1 Scout Cavalry
- Gaia units:
Differences between difficulty levels[]
- On Standard, Burgundy no longer starts with a Scorpion in their base.
- On Moderate, Fastolf has an extra Capped Ram when he attacks after the player first destroys a Castle, and he gains an additional Ram on Hard.
Objectives[]
- Destroy at least 3 British Castles.
- Joan must survive.
Hints[]
- The French army is still confined to the Castle Age and a population of 125.
- Make sure you have ample siege weapons before assaulting the English Castles.
- The area across the river and to the east should have plenty of resources to begin your town.
- Make sure you have ample siege weapons before assaulting the English Castles.
- The area across the river and to the east should have plenty of resources to begin your town.
Scouts (Definitive Edition)[]
Your scouts report:
- The French army under Joan of Arc (1, Blue) has reached the Loire River to take the region back from the English.
- The English (3, Red) are in control of many of the Castles in the Loire Valley. Although they will not be very aggressive, their army is not to be trifled with.
- The Burgundians (2, Purple) are the closest to the river and will quickly field an army of infantry. It may be a good idea to deal with them early.
- The English general Fastolf is said to lead the English Army (4, Orange). Be on your guard, as he is said to make use of heavy cavalry units.
Players[]
Player[]
- Player ( Franks): The player starts with Joan of Arc and a few Villagers and soldiers on the southwest edge of the map.
Enemies[]
- English (British before the Definitive Edition) ( Britons): The English have their main base (including one Castle) at the northeastern part of the map, with another three Castles - one at the northwest of the map, another just south of the main base, and one southwest of Fastolf's base in the east of the map. They also have a Dock at the southwest and several Outposts scattered around the map. They attack with Knights, Long Swordsmen, and Longbowmen.
- Burgundy ( Burgundians ( Franks before Lords of the West)): Burgundy is based at the western part of the map. They are your weakest opponent in the scenario. They train an army of Long Swordsmen, Mangonels, and Pikemen.
- Fastolf's Army ( Britons): Fastolf's Army is based at the eastern tip of the map. They are the elite faction of the English army. They field an army of Knights and Battering Rams. If given enough time, they advance to the Imperial Age and train Cavaliers.
Strategy[]
This guide is applied to hard difficulty. It is, of course, also applicable for the other grades of difficulty. It describes only one way to win it. Naturally, there are alternative ways to win the scenario.
The player starts with an army at the southwest of the map. Take all the player's units to the flag northwest of the player's position at once. On the way there, the player will get two Transport Ships and two Demolition Ships. Use the Transport Ships to transport all the player's units across the river, preferably in northeast direction. It is not a long way, but the player needs a few tours due to the low capacity of the Transport Ships. At the shore, a little to the west, are five Sheep. Take them along. Once all the player's units are safely on the other side, quickly move east. The player will soon reach another river. Pass it over the shallows. From that point on keep going east, but a little to the north. The player has to reach the easternmost part of the map. Send the player's Scout Cavalry ahead if the player likes. If the player sees a wall of the British, stay at distance for the time being.
Fastolf's Army cannot withstand an early attack.
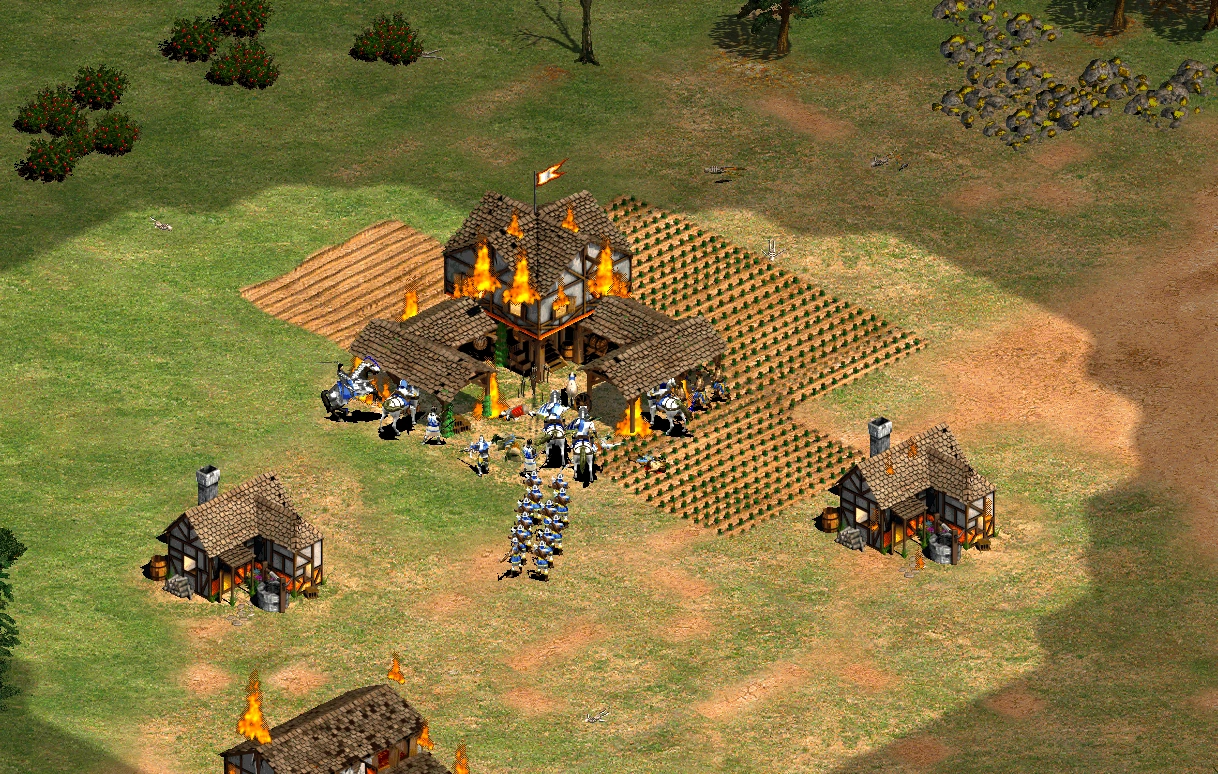
Once the player reaches the town of Fastolf's Army, kill as many enemy Villagers with the Crossbowmen as the player can to prevent them to shoot arrows from the Town Center. But stay at distance from the Town Center. Once almost all Villagers are dead, attack the Town Center with the player's entire army. It won't take long, and the Town Center is down. Once all Villagers are killed, Fastolf's Army resigns.
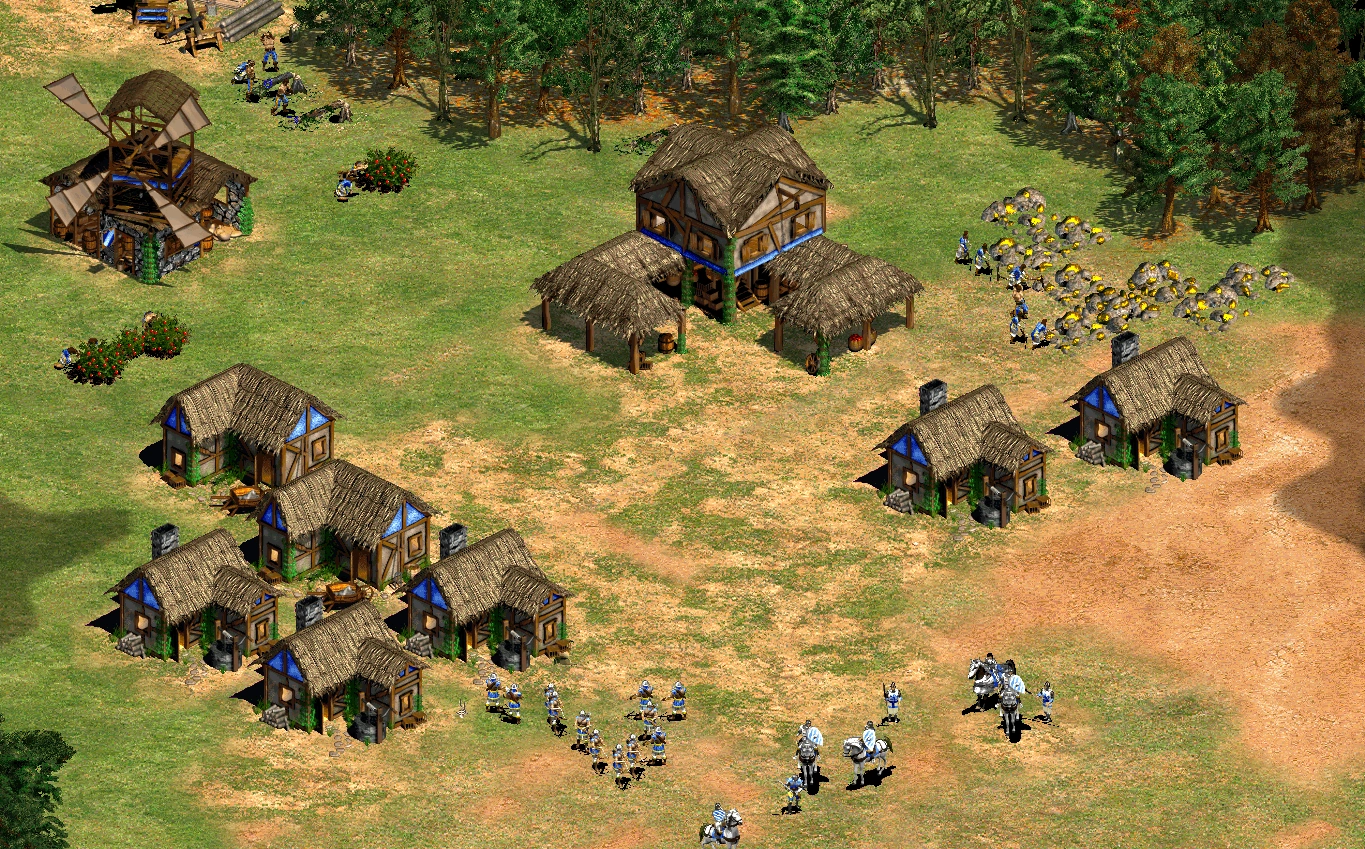
Start building a town.
Now start building up the player's own town. At very first, the player will need to build a couple of Houses. Research Wheelbarrow in the meantime. Start gathering food and wood and get the player's economy going. Just south of the player's base are huge mines of gold and stone. Since none of the player's remaining enemies advances to the Imperial Age or trains Battering Rams, it is easiest to just build a Castle in the western part of the player's base. Research Murder Holes (in case the player is attacked by melee units) and Fletching (to avoid being outranged by Longbowmen).
The British cannot handle a Castle.

Castles, Rams, and Knights overpower the British easily.
To attack the enemy Castles (avoid the one in the northeast), just build an own Castle next to the enemy's Wall. Add one or two Siege Workshops and Stables and create some Battering Rams and Knights. Tear a hole in the Wall with the Rams, and then attack the Castle. The player has enough stone available to perform this strategy and repeat it two times, even with two own Castles each. Once the first Castle is down, however, a couple of Cavaliers and Capped Rams will appear in the player's base. They should not present a problem. Mind that, if another strategy is taken and Fastolf's Army is not eliminated early in the game and the own base is not founded on Fastolf's homeland, he personally appears with quite a strong army of about 12 Cavaliers and six Capped Rams. Once the third Castle is down, however, the scenario is won.
Note: The area has plenty of resources, but the player can ignore them unless they lack resources or can reach a fast victory. A Dock can be built, but mainly to fish, since the player should have early eliminated the British ships and Dock.
In the Definitive Edition, the enemy will react very aggressively to the player's attempt to built a Castle within its Line of Sight. Line of Sight is most commonly provided by towers, which means the player needs to build their Castles at a suitable distance from enemy Towers. For example, the northeastern enemy Castle has towers along most of its perimeter except along its eastern wall. The enemy will not interfere if the player builds their Castle on the hill right next to that eastern wall. The enemy's initial Mining Camp will be in range of this Castle, so if the player can complete this Castle early enough, they can severely reduce the enemy's unit production. The player can then add Stables, Siege Workshops, and Archery Ranges near this Castle to support an attack on the enemy base. This will cripple the enemy's economy and render the other Castles mostly defenseless.
Also in the Definitive Edition, the map has been changed such that the creek in the middle of the map now entirely bisects the land. In order for enemy reinforcements to walk from one side of the map to the other, they will have to cross one of the shallows in the creek. It may be helpful to wall off two of the shallows, and then build a Castle next to the third. Enemy reinforcements will then be funneled to the open shallow where they can be intercepted by the Castle.
Outro[]
After Patay, the myth of English invulnerability was dispelled. Now our army knows it is possible to win, but only if we are resolute and cunning.
The English are a most deadly enemy, and their longbowmen time and again have decimated a charge of French Knights.
To make matters worse, we now face enemies on both sides. The Dauphin's advisors spend more and more time wrangling, jealous of Joan's influence at court.
I pray that Joan can complete her divine mission before the Dauphin's envious advisors betray her.
After Patay, the myth of British invulnerability was dispelled. Now our army knows it is possible to win, but only if we are resolute and cunning.
The British are a most deadly enemy, and their longbowmen time and again have decimated a charge of French Knights.
To make matters worse, we now face enemies on both sides. The Dauphin's advisors spend more and more time wrangling, jealous of Joan's influence at court.
I pray that Joan can complete her divine mission before the Dauphin's envious advisors betray her.Trivia[]
- Even if Fastolf's Army is defeated, Sir John Fastolf and several troops will still spawn to attack the player after one of the British Castles is destroyed. This contrasts with similar setups in The Triple Alliance (Montezuma campaign) and A Barbarian Betrothal (Attila the Hun campaign), where prematurely defeating a player set to spawn later will prevent it.
- Fastolf will keep mocking the player after being defeated.
Historical comparison[]
- The three forward British Castles are analogous to the three castles conquered by the French in the Loire campaign: Jargeau (east of Orleans), Meung-sur-Loire, and Beaugency (west). The French base built by the player after crossing the river stands for Orleans itself. The largest red fortification stands for Patay, ironically the smallest of the real locations.
- Besides Joan of Arc, the French commander at Jargeau, Meung-sur-Loire, and Beaugency was the Duke D'Alençon, who is absent from the scenario. La Hire was the commander at Patay along with Jean Poton de Xaintrailles.
- Although Fastolf will most likely be killed in the scenario, in reality he was the only of the four English commanders at Patay who was neither killed nor captured. This resulted in his tarnished reputation of cowardice, which took him 13 years to clear.
Gallery[]
")