Battle of Tunis (named The Battle of Tunis in the Definitive Edition and Battle of Tunes in the original) is the third and final scenario of the The First Punic War campaign in the Age of Empires: The Rise of Rome demo. It depicts the eponymous battle.
Scenario instructions[]
Description[]
| “ | Carthaginian Coast, 255 BCE Frustrated by your victories in Sicily, the Romans have sent the general Regulus to attack our homeland in Africa. His army now threatens the city of Carthage while the Roman navy approaches to blockade our ports. You must defend Carthage from these attacks and turn the tides of the battle. May Ba'al Hammon protect us and grant us victory! | ” |
| —In-game section | ||
| “ | 255 BC Frustrated by your victories on Sicily, the Romans have landed a sizeable army under the command of the general Regulus on the coast of Africa to attack Carthage itself! Regulus has already established a strong fortress, and is seeking to turn it into a major port city capable of producing enough legions to sack Carthage once and for all. You must survive attacks by Regulus' army and from the Roman navy. Build a Wonder and you will demonstrate Carthage's mastery over the entire Mediterranean. | ” |
| —In-game section | ||
Starting conditions[]
- Starting Age:
 Bronze Age
 - Starting resources: 200 food, 200 wood, 150 stone
- Population limit: 100
- Starting units:
- Gaia units:
- Starting Age: Bronze Age
- Starting resources: 250 food, 250 wood, 50 gold, 150 stone
- Population limit: 50
- Starting units:
- Gaia units:
- Starting Age: Bronze Age
- Starting resources: 200 food, 200 wood, 150 stone
- Population limit: 50
- Starting units:
- Gaia units:
- 16 Phalangites
- 2 Catapults
- 1 Heavy Cavalry
- 16
Objectives[]
- Destroy the Roman Wonder.
- Build your own Wonder in the center of Carthage, inside the blue flags.
Hints[]
- You can support a population of 100 and advance to the Iron Age.
- The mercenary force of the Spartan soldier of fortune, Xanthippus, will join you if you can find it. It was last spotted north of the Romans.
- It is not necessary to destroy the Roman shipyards, only to prevent their navy from destroying your Wonder.
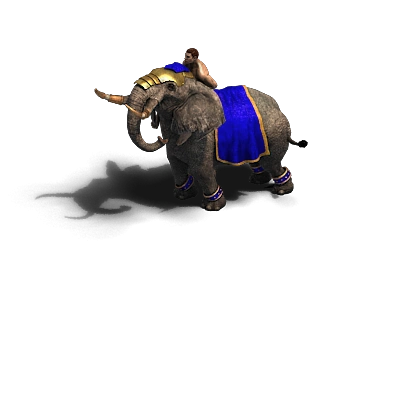
- Use some of Carthage's best military units, including Hoplites, Fire Galleys, and War Elephants.
- The mercenary force of the Spartan soldier of fortune, Xanthippus, is available for hire if you can find it.
- It is not necessary to destroy the Roman shipyards, only to prevent their navy from destroying your Wonder.
- Use some of Carthage's best military units, including Long Swordsmen, Fire Galleys, and War Elephants.
- Trading with other civilizations can speed your victory.
To trade with another civilization, build a Trade Boat or Merchant Ship. Click the boat, click the button at the bottom of the game screen that corresponds to the resource you want the vessel to carry, and then right-click the Dock to trade with.
Players[]
Player[]
- Player ( Carthaginians): The player's base is Carthage itself, located on the eastern tip of the southern landmass. The city contains every building except a Gate or Wonder, including 16 Houses, a semi-enclosed ring of Medium Walls around the city, 7 Watch Towers inside the walls, and 6 Farms outside the walls. The city contains 5 Gold Mines, 5 Stone Mines, and a moderate number of trees.
Enemies[]
- Regulus ( Romans): Regulus' Iron Age fortress is built into the cliffs in the western corner of the map, and is only accessible from the south; his landmass connects to the player's by a shallow river crossing. A walled Guard Tower outpost watches over his side of the river crossing. Regulus has a rich economy, and can train Villagers, Fishing Ships, Broad/Long Swordsmen, Priests, Ballistas, and Stone Throwers (upgradable to Heavy Catapults). At the start of the scenario, Regulus has a number of Cavalry and Improved Bowmen scattered over the west of the player's landmass.
- Roman Navy ( Romans): The Roman Navy has a rich Iron Age base on an island to the north. The island is huge, but the Romans are confined to a small area in the south, hemmed in by dense forests and their own walls. They project their power across the sea, sending occasional groups of warships, and eventually land troops in transport ships. They can train Villagers, Fishing Ships, Light Transports, War Galleys (upgradable to Triremes), Catapult Triremes, Broad/Long Swordsmen, and Ballistas. Their coast is protected by a trio of Guard Towers, and they begin with a fleet of Fishing Ships, and a ring of 7 Triremes and 2 Catapult Triremes surrounding the player's warships.
- Consul's Guard ( Romans): The Consul's Guard are a purely military force, walled in together with the Wonder in the back of Regulus' base. They consist of pairs of Heavy Catapults, Ballistae, and Priests. The Priests have Mysticism and Polytheism, but otherwise these troops have no upgrades.
Player[]
- Player ( Carthaginians): The player's base is Carthage itself, located on the eastern tip of the southern landmass. The city contains every building except an Academy or Wonder, including 16 Houses, a semi-enclosed ring of Medium Walls around the city, 7 Watch Towers inside the walls, and 6 Farms outside the walls. The city contains 5 Gold Mines, 5 Stone Mines, and a moderate number of trees. An isolated pond south of the city contains fish.
Enemies[]
- Regulus ( Romans): Regulus' Iron Age fortress is built into the cliffs in the western corner of the map, and is only accessible from the south; his landmass connects to the player's by a shallow river crossing. A walled Guard Tower outpost watches over his side of the river crossing. Mines are scattered between his walls and the northeast coast. Regulus has a rich economy, and can train Villagers, Broad/Long Swordsmen, Priests, Ballistas, and Stone Throwers (upgradable to Catapults). He initially has no units on the player's landmass, but eventually starts sending raids.
- Romans ( Romans): The Romans have a rich Iron Age base on an island to the north. Their base is in two parts: one cramped into a small, resource-rich area to the east, near a large Gaia army. The western part of their base is more wide-open and sparsely populated, with their Docks and protective Guard Towers to the south, but less protected to the west and north. They project their power across the sea, sending warships and transport ships loaded with ground troops. They can train Villagers, Light Transports, Triremes, Long Swordsmen, and Ballistas. They begin with a fleet of Fishing Ships, which won't be replenished if they're lost, and a ring of 7 Triremes and 2 Catapult Triremes surrounding the player's warships.
- Consul's Guard ( Romans): The Consul's Guard are a purely military force, walled in together with the Wonder in the back of Regulus' base. They consist of 6 Centurions, 6 Legions, 2 Priests, 2 Catapults, and 2 Ballistas, all with Bronze Age upgrades.
Player[]
- Player ( Carthaginians): The player's base is Carthage itself, located on the eastern tip of the southern landmass. The city contains every building except a Wonder, including 16 Houses, a semi-enclosed ring of Medium Walls around the city, 7 Watch Towers inside the walls, and 6 Farms outside the walls. The city contains 5 Gold Mines, 5 Stone Mines, and a moderate number of trees. An isolated pond south of the city contains fish.
Enemies[]
- Regulus ( Romans): Regulus' Iron Age fortress is built into the cliffs in the western corner of the map, and is only accessible from the south; his landmass connects to the player's by a shallow river crossing. A walled Guard Tower outpost watches over his side of the river crossing. Regulus has a rich economy, and can train Villagers, Broad/Long Swordsmen, Priests, Ballistas, and Catapults. At the start of the scenario, Regulus has a number of Cavalry and Improved Bowmen scattered over the west of the player's landmass, which may attack Carthage soon after the scenario begins. Afterwards, they send Villagers to drain the player's landmass of resources, but are unlikely to attack again until threatened.
- Roman ( Romans): The Romans have a rich Iron Age base on an island to the north. The island is huge, but the Romans are confined to a small area in the south, hemmed in by dense forests and their own walls. They project their power across the sea, sending occasional groups of warships, and eventually land troops in transport ships. They can train Villagers, Light Transports, War Galleys (upgradable to Triremes), Catapult Triremes, Long Swordsmen, and Ballistas. Their coast is protected by a trio of Guard Towers, and they begin with a fleet of Fishing Ships, and a ring of 7 Triremes and 2 Catapult Triremes surrounding the player's warships.
- Colosseum Defenders ( Romans): The Colosseum Defenders are a purely military force, walled in together with the Wonder in the back of Regulus' base. They consist of pairs of Catapults, Ballistae, and Priests. The Priests have Mysticism and Polytheism, but otherwise these troops have no upgrades.
Strategy[]
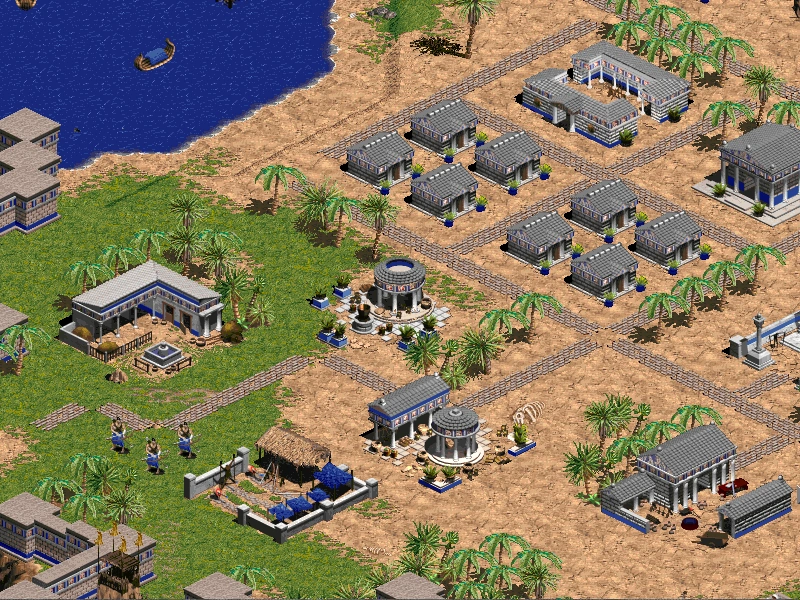
Carthage, the player's starting position
The scenario begins with the player's War Galleys surrounded by Triremes and Catapult Triremes in the sea between Carthage and the Roman Navy's island. The Carthaginian starting fleet is heavily outmatched, so should be withdrawn south immediately. The Roman ships are unlikely to pursue as far as Carthage if the retreat is swift enough, and will lurk in the sea between the two lands for now.
There are three enemies: Regulus (red), the Roman Navy (yellow), and Consul's Guard (magenta), all portrayed by the Roman civilization. Regulus and the Navy already have large well-defended bases, so the player's first task should be to defend the starting town - build a Gate across the city entrance, upgrade the towers, and train a navy to protect the city from sea attacks. Develop the Villager workforce with a particular focus on wood, as it will be needed for ships, and to build safer Farms within the city walls.
Carthage is at the easternmost tip of a large landmass that stretches across the south of the map. The city itself has plentiful mines and enough wood to develop a reasonable fleet. The rest of the landmass is resource-rich, including a secluded, defensible plateau in the far south with gold and trees (and a Lion at the entrance). Regulus has teams of Cavalry and Improved Bowmen scattered around the western half of the landmass, but as long as they're not approached, they will stay there for a lengthy period; the player will likely be in the Iron Age by the time Regulus attacks. A group of Camel Riders can clear out these starting troops and secure the home landmass. In the far west is a shallow crossing leading to Regulus' landmass, which is watched on the other side by a walled Guard Tower.
At around 13 minutes, the Roman Navy attacks with 2-5 warships (depending on difficulty level) and a Light Transport loaded with Swordsmen and Ballistae, and will repeat this every 8-9 minutes. They are most likely to attempt a landing in Carthage's harbor, but may target different landing sites on subsequent attempts. They should be kept from landing, but should that fail, they can be countered with Cavalry (and later Heavy Cavalry).
- Fighting the Roman Navy
The scenario can be won without defeating the Roman Navy, but their regular attacks can be a problem, so it's advisable to put an end to them. Advance to the Iron Age as quickly as possible, as their fleet and trio of Guard Towers will be easier to defeat with Fire Galleys and Triremes. The Carthaginians do not have access to siege ships, but Fire Galleys do more damage to units and towers if they can get close enough.
The Roman Navy occupies a large island to the north, but they are confined to a tiny area around its south coast, and can potentially be beaten very quickly. Land a unit on the eastern shore, they can move north through the mountain pass to recruit a group of Gaia soldiers - a large force of Phalangites, two Catapults and the hero Xanthippus. This army is large enough to assault the Roman Navy from land, while the player's navy can simultaneously raid their coasts and hunt down their warships. Once the Roman Navy is defeated, the seas are safe. The player can either delete any remaining ships to free up population space, or use the Triremes to patrol the shallows between Regulus' fortress and Carthage's landmass.
The Navy will likely have used up most of their base's resources by the time they're defeated, but there's a cache of gold, stone and Berry Bushes along the eastern cliffs, and vast forests throughout the island.
- Fighting Regulus

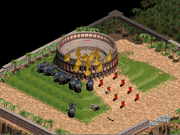
.png)
Destroying Regulus' wonder at the end of the scenario
Regulus can build Docks in Return of Rome, but only uses them for a fishing economy. If the player is running short on gold, a solution could be to keep these Docks intact, and send Merchant Ships to trade with them. Unlike the Roman Navy, however, defeating Regulus is essential to completing the scenario; the Wonder is walled in at the back of his base.
After the Cavalry and Improved Bowmen scattered across Carthage's landmass are defeated, Regulus won't train any more of them; the only combat units he trains are Swordsmen, siege units and Priests. He can only attack over land, so it's advisable to secure the river crossing between the two landmasses. Walls and towers can help, but are vulnerable to the enemy's Catapults; keep warships nearby to deal with them.
Prepare the assault on Regulus' fortress: Armored Elephants to quickly flatten buildings, some Horse Archers to face infantry and Priests, and Heavy Cavalry to take out siege units, is a highly effective army composition.
Beyond the shallows, Regulus has a lookout post consisting of a walled Guard Tower and some archers; the elephants can make short work of these while the rest of the army moves north, or the entire force can be transported further up the coast. There's a lengthy desert region between the river and Regulus' cliffside fortress, after which are the only two entrances to the base: there is no access from the northeastern shore.
Once inside the walls, the majority of Regulus' buildings are quite close together, so a sizeable force can tear through it in minutes. In the western corner is the Roman Wonder, protected by walls, behind which are the deadly units of the Consul's Guard. If attacking the walls with elephants, try to take out their pair of Priests first with ranged units (they have lengthy range, so it may be necessary to bait them out, or bring siege weapons to target them). Their Heavy Catapults do enormous damage to tightly packed groups, so try to keep the battle line spread out.
After the Roman Wonder is destroyed, the scenario is won when the player has built a Wonder of their own in the flagged area of Carthage.
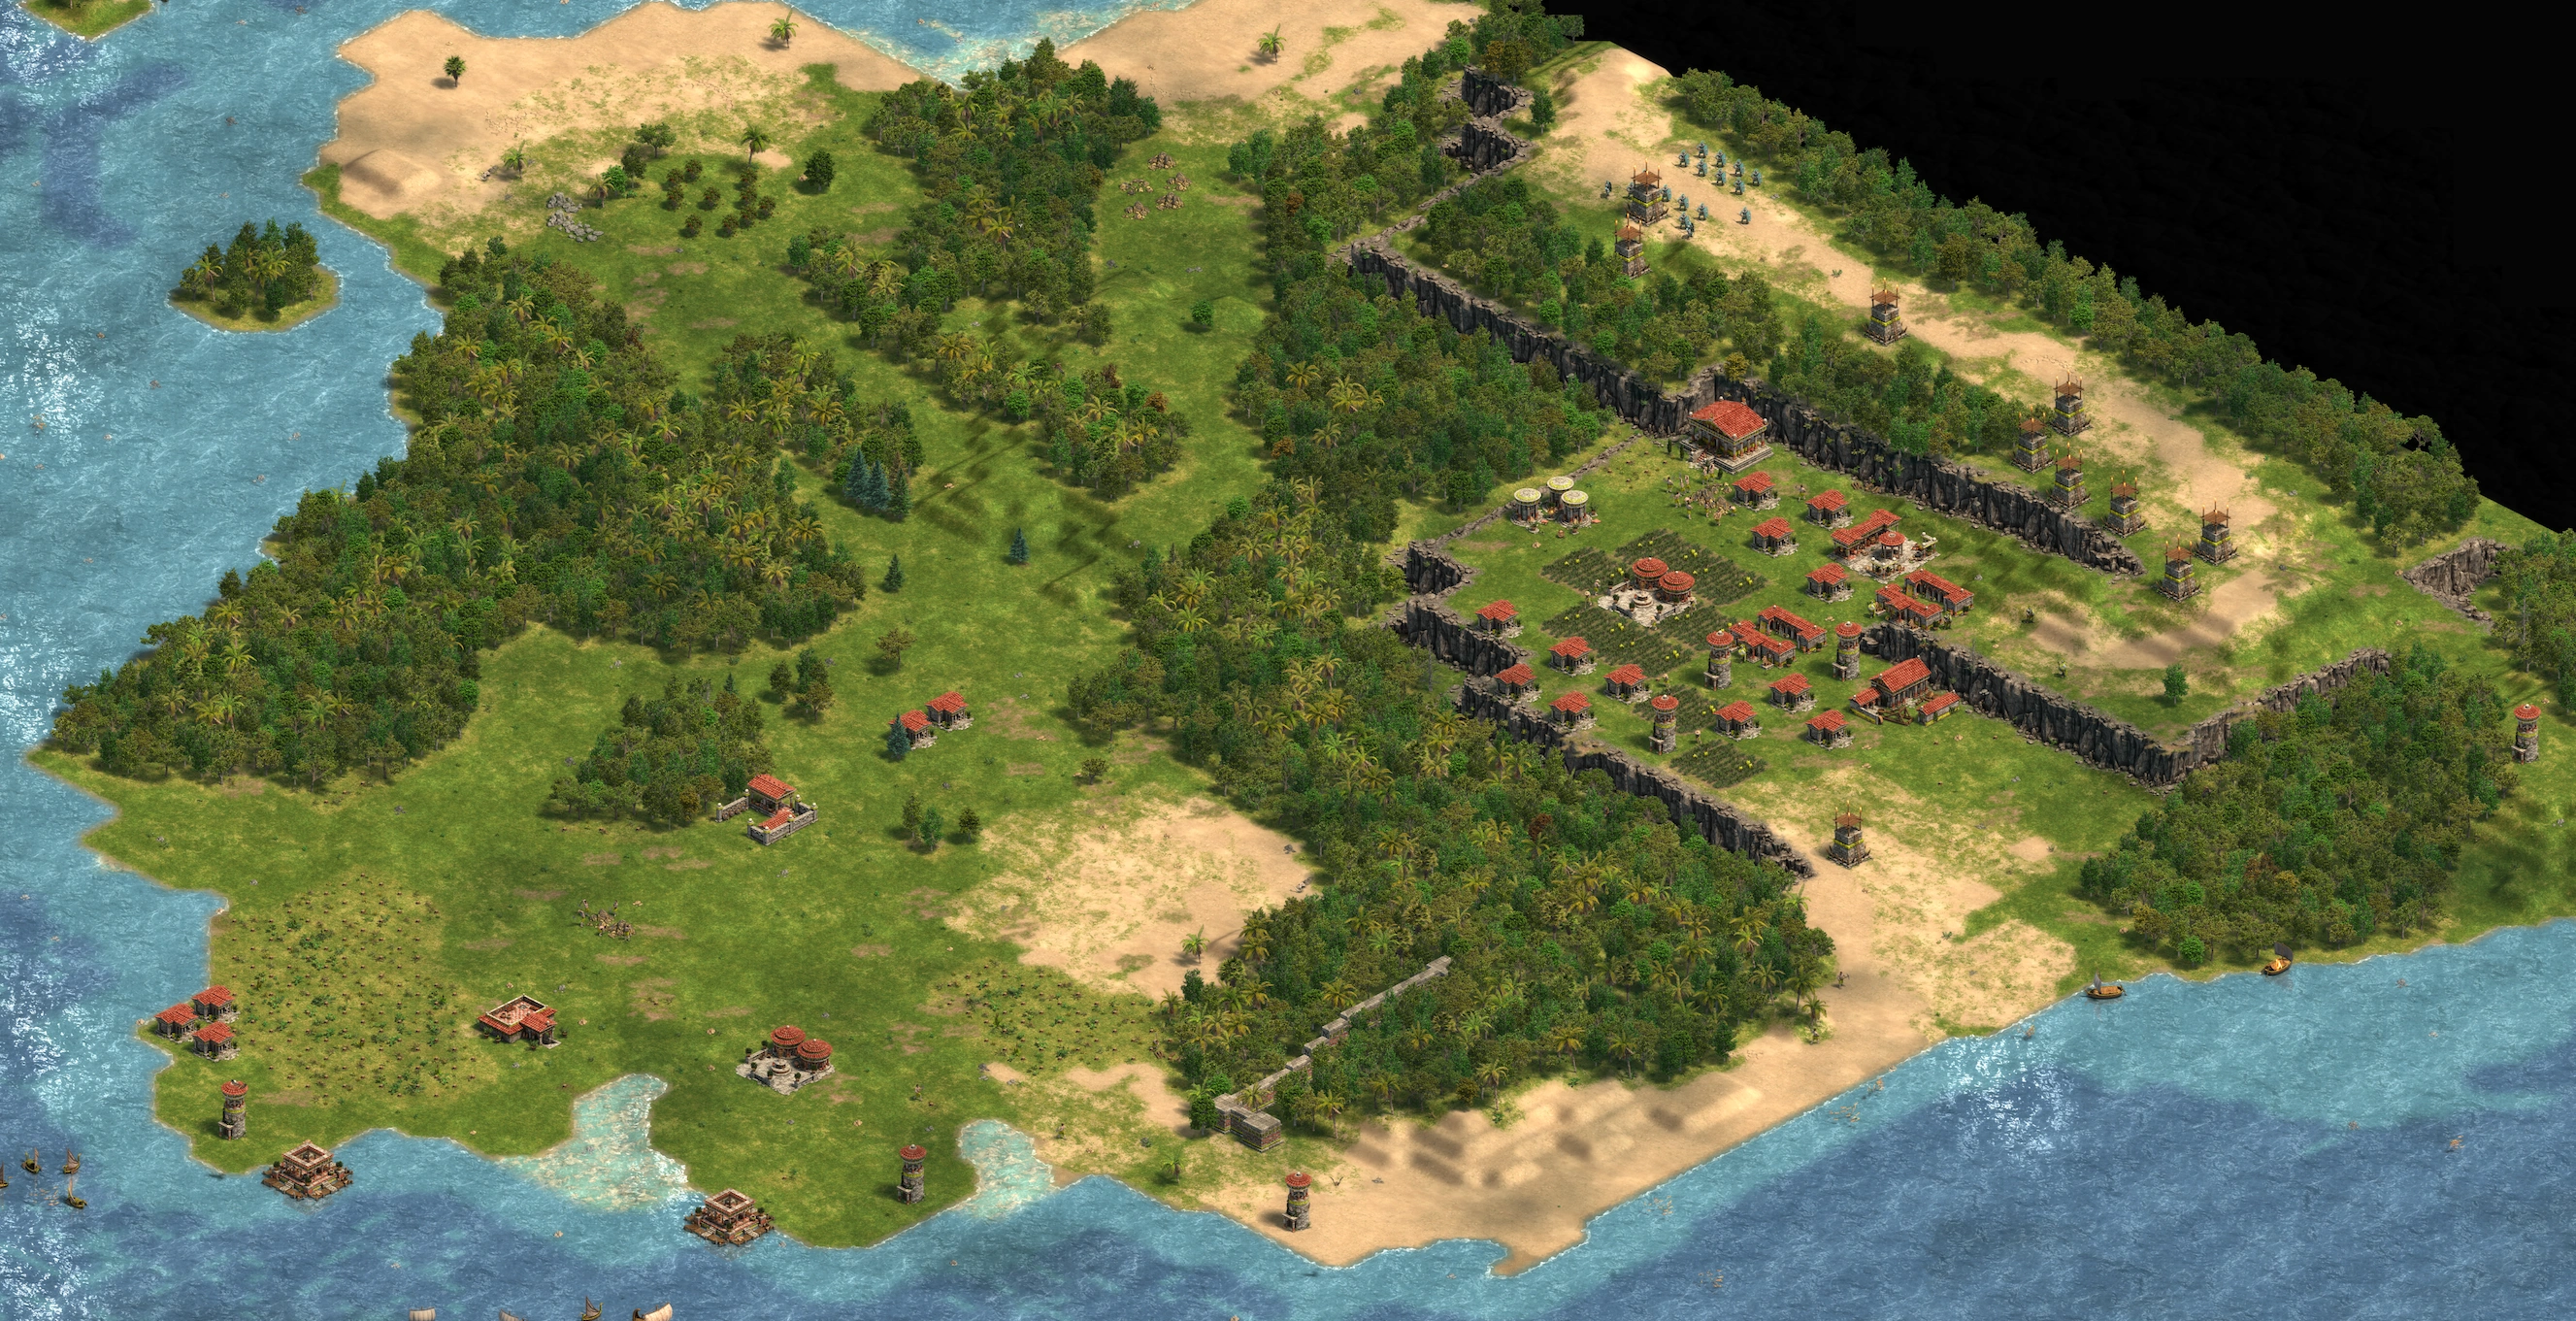

A map of the Roman base on the northern island. In other versions of the game, the Romans are confined to the open area in the south of the island. Note Xanthippus' recruitable army in the northeast.
The Battle of Tunis is the only scenario in The First Punic War in which the Definitive Edition closely resembles the other versions.
Here are some key differences to the strategy described for Return of Rome:
- The player's landmass is free of troops at the start, so it may be useful to send a Villager to fortify the western shallows. On Hardest, Regulus begins his attack at around 10 minutes.
- There are no Lions on the player's landmass, just one or two Crocodiles along the coastline.
- There is a pool of water just south of Carthage that's cut off from the other waterways; it contains fish in the Definitive and original versions of the scenario. Some can only be reached with fishing vessels, so set up a Dock here, being careful not to delete any fish in the process.
- The northern island is significantly different. The Romans have a second Town Center on the eastern cliffs; this tightly clustered area forms the bulk of their powerbase. They also build a string of towers along the route to the Gaia army, which is unprotected in other versions of the game. This all means that the player will need more than just Xanthippus' troops and some warships to conquer the island; Armored Elephants will be particularly effective in bringing down the towers, crowds of infantry, and tightly packed buildings.
- Xanthippus' Gaia army doesn't include any Catapults.
- It is possible to avoid the island's southern Guard Towers by landing troops in the west or north. Unlike other versions of the game, there are passages through the dense forests, and mines that the Romans are unlikely to have touched.
- On higher difficulties, the island Romans are extremely aggressive. They don't turn back from Carthage if the player's War Galleys flee there, and send regular barrages of ships, with the first land units arriving at around 8 minutes on Hardest. It is critical to turn out extra ships quickly, and upgrade them to War Galleys; build extra Docks to do this faster. Building extra towers along the northern coast will be useful too, but enemy Catapult Triremes must be brought down quickly when they appear.
- The island Romans don't replace any Fishing Ships that are brought down.
- Regulus doesn't build Docks.
- There is some gold and stone along the coastline northeast of Regulus' base.
- The Consul's Guard fields a large group of infantry, but just Catapults instead of Heavy Catapults.


Regulus' base at 30 minutes
As in all of The First Punic War, Return of Rome resembles the original scenario far more than the Definitive version.
Here are some key differences to the strategy described for Return of Rome:
- There is a pool of water just south of Carthage that's cut off from the other waterways; it contains fish in the Definitive and original versions of the scenario. Some can only be reached with fishing vessels, so set up a Dock here, being careful not to delete any fish in the process.
- The island Romans take far longer to start sending land troops across on transport ships.
- Xanthippus is represented by a regular Heavy Cavalry unit.
- Regulus' squads of Cavalry and Improved Bowmen behave aggressively, and may attack Carthage as soon as 40 seconds into the scenario. Retreat Villagers into the city, and wall up behind them. After this wave is defeated, Regulus won't attack again for a long time unless threatened, but sends hordes of Villagers to drain the player's landmass of resources.
- The Colosseum Defenders field Catapults, rather than Heavy Catapults.
History[]
Historical notes[]
| “ | The war in Sicily increasingly became an endeavor of one lengthy siege after another. Seeking a swifter victory, the Romans planned a daring invasion of the North African coast to take the war to the Carthaginian homelands. At the Battle of Cape Ecnomus (256 BCE), off the southern coast of Sicily, the Romans defeated Carthage in one of the ancient world's largest naval battles. Over 600 vessels participated in the engagement, which demonstrated that Rome could now challenge Carthage at sea on an equal footing. The victory allowed the Roman army, under the command of Marcus Atilius Regulus, to land in Africa. At the Battle of Adys (255 BCE), Regulus defeated the Carthaginians, plundering the countryside and marching on Carthage. This weakening of the North African power incited the Numidians, a Berber people and sometime allies of Carthage, to revolt. Refugees from the pillaged countryside fled to the capital, causing an outbreak of disease and hunger. Fortunately for Carthage, a Spartan mercenary general named Xanthippus appeared. The Spartan recognized that Carthage's cavalry and elephants, the backbone of its army, would fight best on open ground, allowing them to maneuver. Previously, Carthaginian generals had sought to fight the Romans in sieges and on rough terrain, where the tough Roman infantry held the advantage. These changes were crucial to Carthaginian success at the Battle of Tunis, also known as the Battle of Bagradas, in 255 BCE. Battered by an elephant charge, flanked by the Carthaginian cavalry, and unable to defeat the Carthaginian phalanx in the center, the Romans were routed by a final cavalry charge. Regulus was captured and, according to Roman legends, was released on parole to negotiate a peace. In Rome, he urged the Senate to refuse the peace proposal and, fulfilling the terms of his parole, was said to have returned to Carthage to be tortured to death. The defeat of the Romans at Tunis was followed by the sinking of the Roman fleet in a storm, ending Rome's attempts at invading Africa during the war. The First Punic War would drag on for another fourteen years culminating in Carthage's defeat at the Battle of the Aegates in 241 BCE. As for Xanthippus, his final fate is uncertain. Diodorus of Sicily writes that after the Battle of Tunis, the Spartan general saved the city of Lilybaeum in Sicily from a Roman siege. Leaders in the city were jealous of their savior's success and betrayed him by giving him a leaky ship for his voyage home. | ” |
| —In-game section | ||
| “ | Despite the heavy loss of ships to storms and naval battles, the resilient and persistent Romans rebuilt their navy and landed an army near Carthage to seek a decisive land victory. After failing to drive the Romans away in one land battle, the Carthaginians considered making peace. The Roman conditions were so harsh, however, that Carthage decided to carry on. At the Battle of Tunes, the Roman army in North Africa was engaged once more. | ” |
| —In-game section | ||
Victory[]
| “ | You have snatched victory from near defeat! The Roman army has been crushed and Regulus sits in chains in your tent. Word has come that the fleeing survivors of the Roman fleet were caught in a storm and found their graves at the bottom of the sea. While your stunning victory has saved Carthage, you know that the Romans will never surrender. You fear that you have only delayed their eventual triumph. | ” |
| —In-game section | ||
| “ | Your complete victory over the Romans has cost them dearly. We have learned recently that the few enemy troops that escaped by sea were destroyed with the Roman fleet in a storm at sea. It will be years before Rome can threaten us again. | ” |
| —In-game section | ||
Loss[]
| “ | Your failure to defeat the Roman army has forced us to accept their peace terms, which are harsh. Take note of the treaty clause requiring that you serve out your years in a Roman stone quarry. | ” |
| —In-game section | ||
| “ | Your failure to defeat the Roman army has forced us to accept their peace terms, which are harsh. Take note of the treaty clause requiring that you serve out your years in a Roman stone quarry -- we inserted that one. | ” |
| —In-game section | ||